Introduction
How to Remove Permanent Marker: You are enjoying a quiet Sunday morning when you discover your three-year-old has turned your pristine white hallway into their personal art gallery complete with bold, black permanent marker “masterpieces.” Sound familiar? Whether it’s your little Picasso expressing their creativity or you accidentally grabbed the wrong marker during a project, permanent marker mishaps are basically a rite of passage for homeowners.

How to Remove Permanent Marker from Canvas
Canvas is one of those materials that seems tough but can be surprisingly delicate when it comes to cleaning. Whether it’s that canvas tote bag you love or your living room chair, here’s how to remove permanent marker without ruining the fabric.
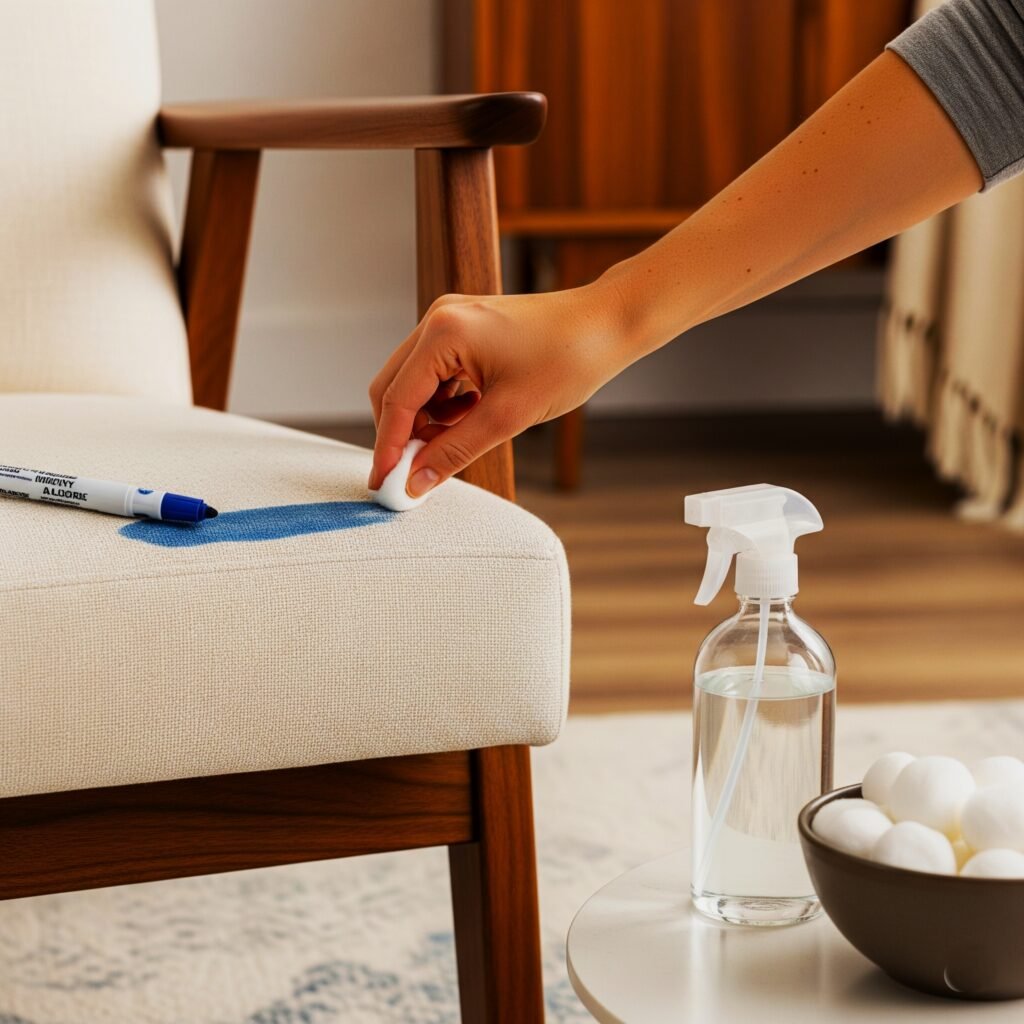
Tackling Canvas Upholstery
Last year, my friend’s toddler decided my canvas reading chair needed some “decoration.” Here’s what saved the day: First things first grab some rubbing alcohol and cotton balls. But before you go all-in, test a tiny hidden spot (like the back corner where it meets the wall). Some canvas fabrics have dyes that don’t play nice with alcohol, and you’ll want to know that before you start.
Once you’re sure it’s safe, start blotting the stain with alcohol-soaked cotton balls. I like to work from the outside edges toward the centre; this keeps the stain from spreading outward. Keep blotting until the marker starts lifting off. Then, take a clean cloth dampened with cold water and gently sponge away the alcohol residue. The key here is patience. Don’t scrub like you’re trying to sand wood; canvas fibres can get damaged pretty easily.
Canvas Bags and Clothing
For washable canvas items, you’ve got a slightly different game plan: Start by running cold water over the stain—and I mean really let it flow. Keep rinsing until the water runs clear (this might take longer than you think). Next, dab the area with rubbing alcohol, but again, test a hidden spot first if you haven’t already.
Relatable : 25 Small Laundry Room Decor Ideas That Transform Tiny Spaces
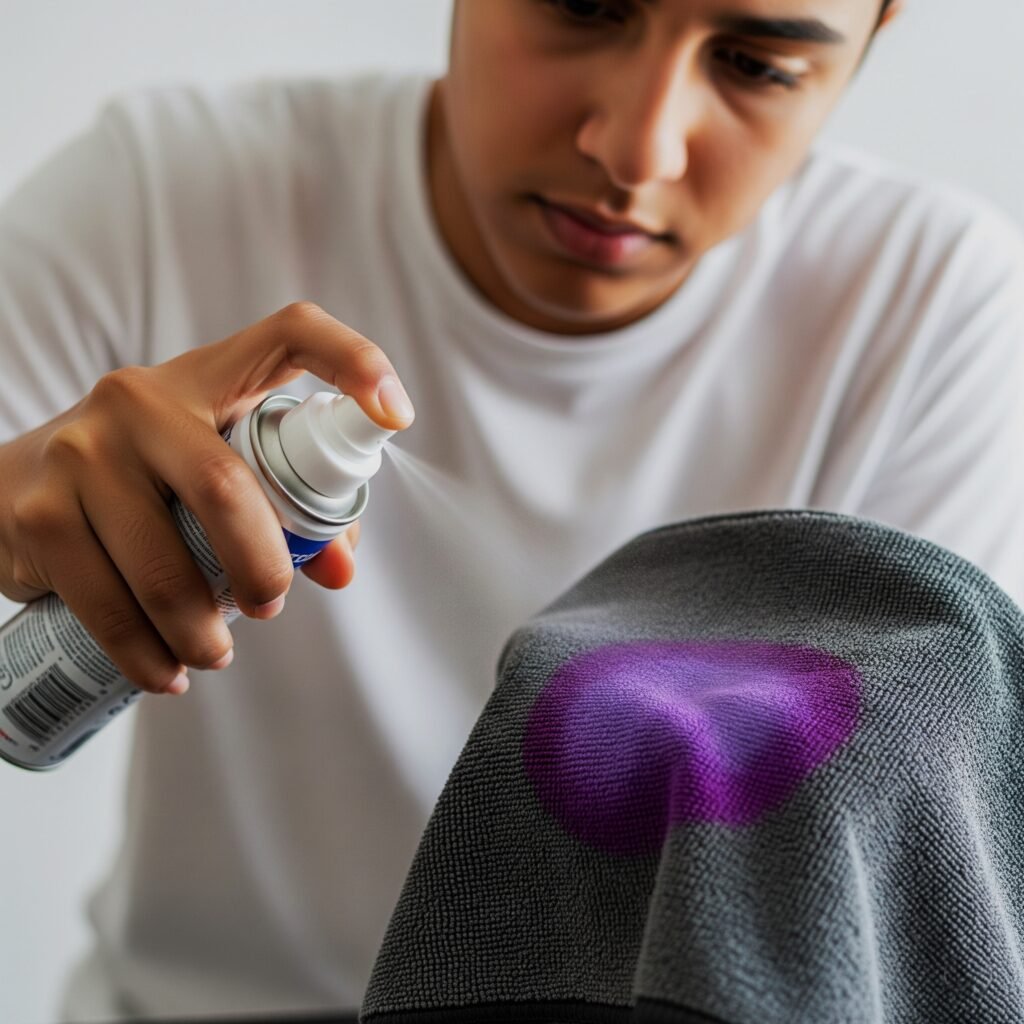
Removing Permanent Marker from Brick Surfaces
Brick walls and outdoor spaces seem to be magnets for permanent marker whether it’s kids playing outside or unfortunate graffiti situations. The good news? Brick is more forgiving than you might think.

The Baking Soda Magic Trick
This method feels almost too simple, but it works surprisingly well. Mix equal parts baking soda and water; you want a paste that’s thick enough to stick to the brick but not so thick it just sits there doing nothing.
Spread this mixture over the permanent marker stain and grab a soft-bristled brush (an old toothbrush works great for smaller areas). Gently work the paste into the brick texture. The key word here is “gently.” Brick might look tough, but aggressive scrubbing can actually damage the surface.
Let the mixture sit for about five minutes. I usually set a timer because I tend to forget and either rush back too early or remember an hour later. After five minutes, rinse everything off with clear water.
When Plan A Doesn’t Work
Sometimes that first attempt doesn’t get everything, especially if the marker has been there for a while. Don’t panic—you’ve got backup options:
Hydrogen Peroxide: This is my go-to second attempt. Apply it directly to any remaining stain, wait a few minutes (I usually do three to four), then rinse thoroughly.
Diluted Bleach: If you go this route, please follow the directions on the bottle for dilution. Bleach isn’t something to eyeball. Apply only to the stained area and rinse really, really well afterward.
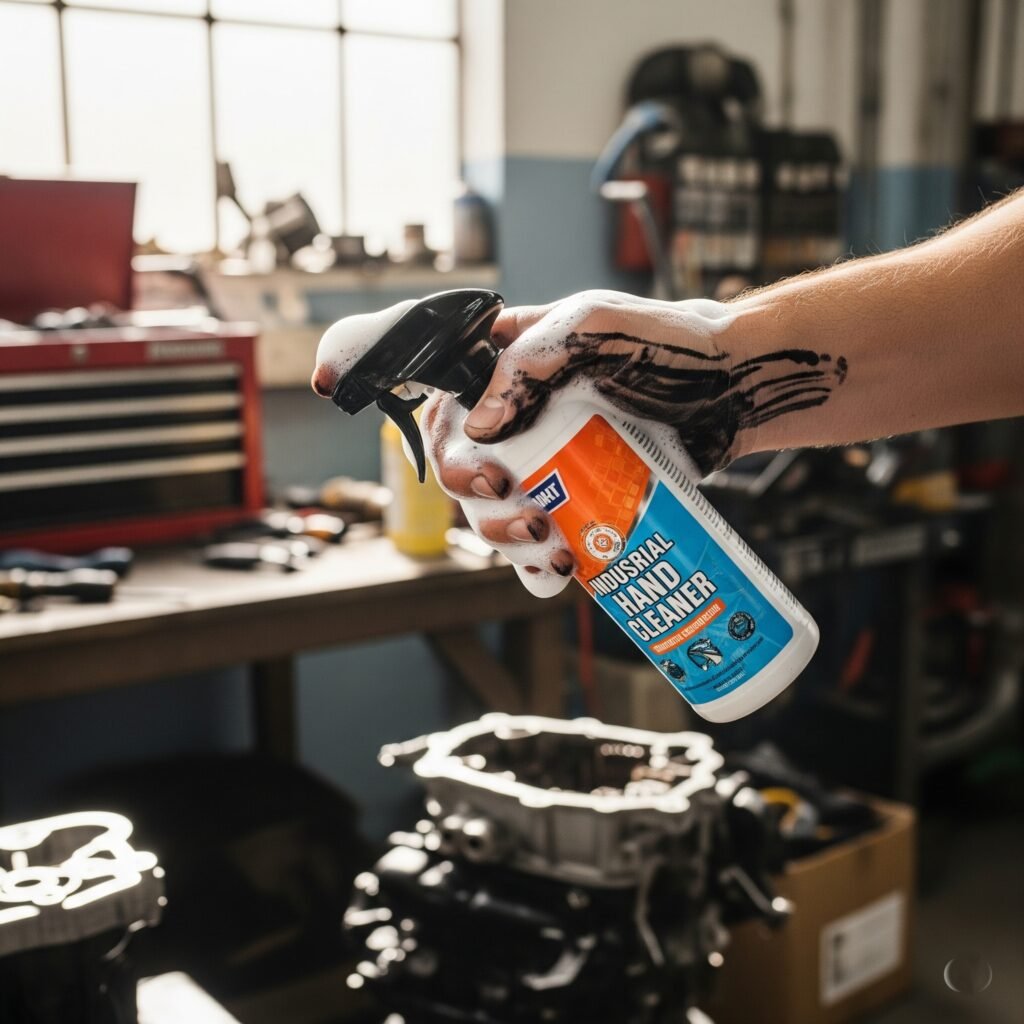
Mechanic’s Hand Cleaner: This one sounds weird, but those waterless hand cleaners mechanics use are fantastic for stubborn stains. Follow whatever the manufacturer says and rinse thoroughly.
Getting Permanent Marker Off Carpet
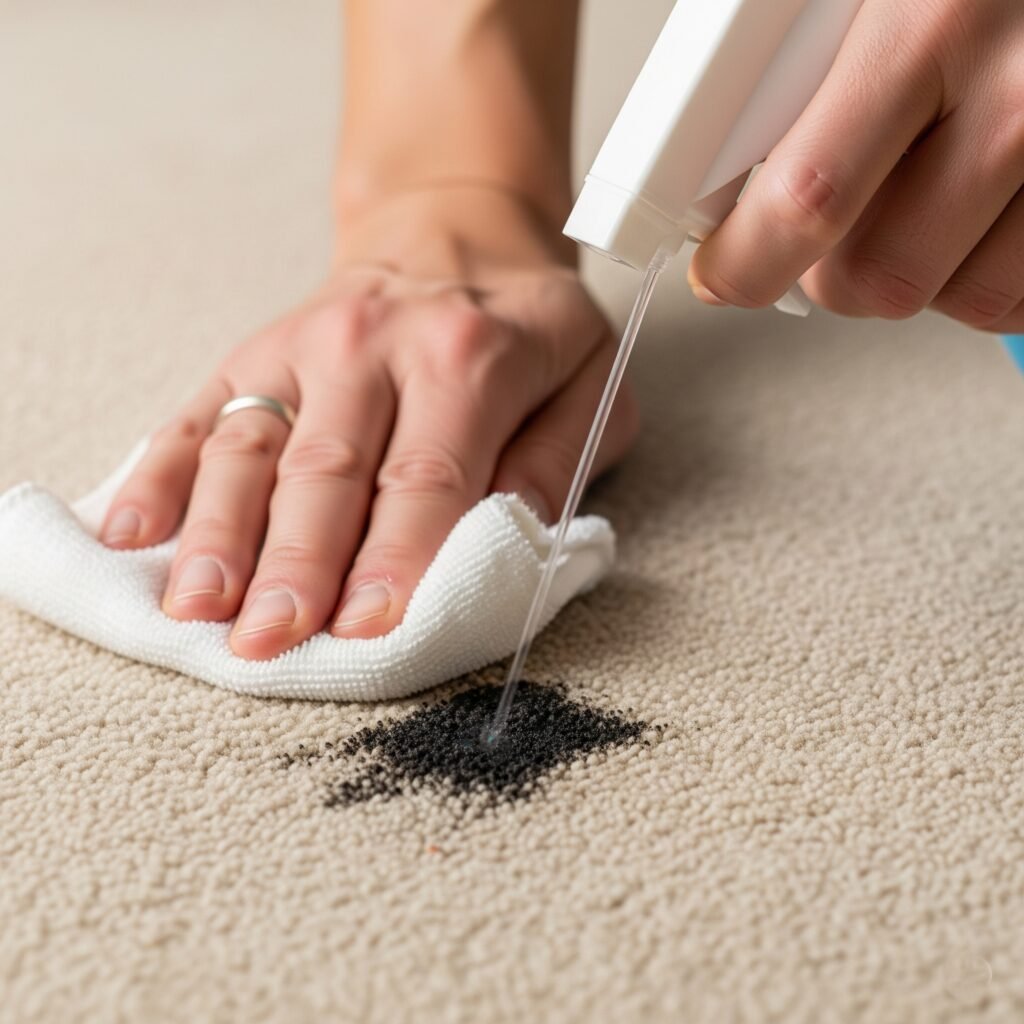
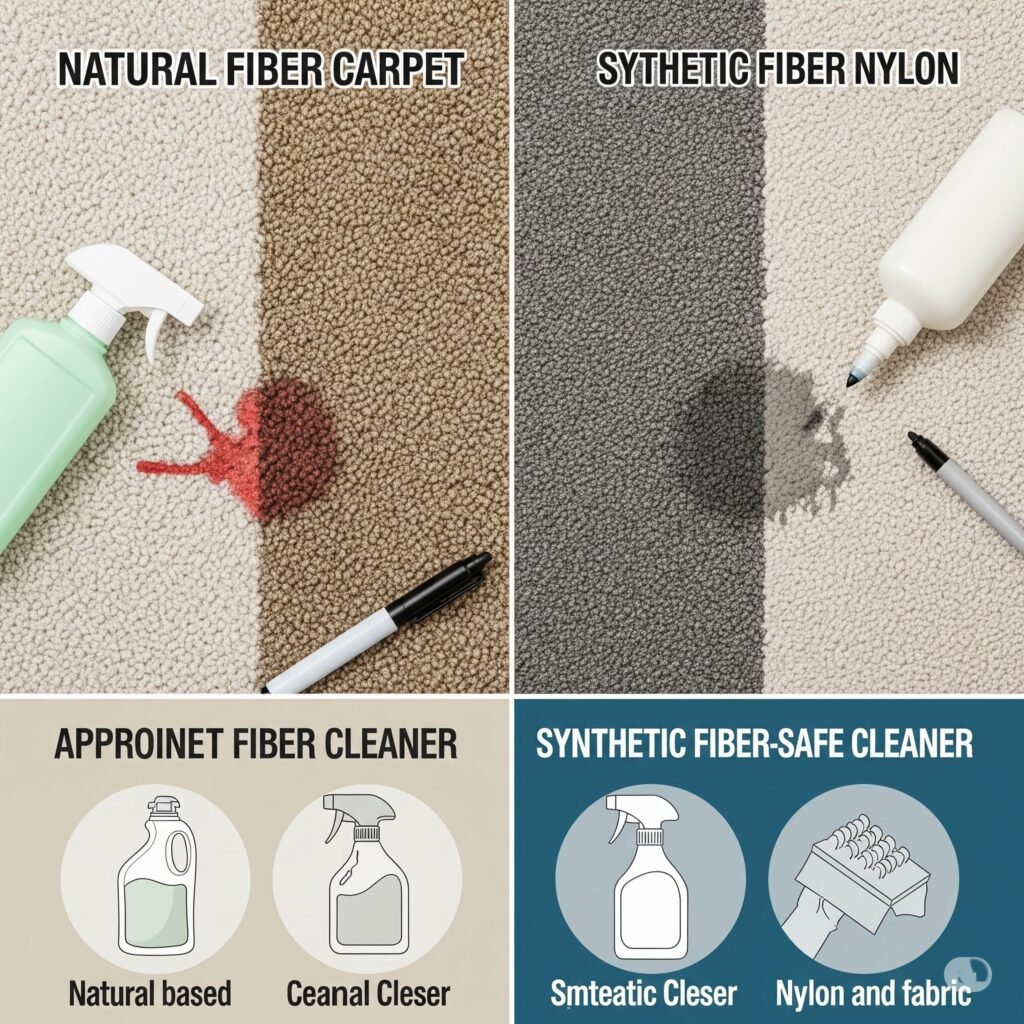
carpet stains. They’re like the final boss of household cleaning challenges. The approach you take depends entirely on what type of carpet you’re dealing with, and honestly, this is one area where knowing your carpet type really matters.
Natural Fiber Carpets
Natural fiber carpets are beautiful but finicky. Here’s what I’ve learned works best:
You’ll need dry-cleaning solvent—the kind you can buy at most hardware stores or online. Follow the directions on the bottle for application, then blot (and I cannot stress this enough) blot, don’t rub. Rubbing pushes the stain deeper and can damage the carpet fibers.
After you’ve blotted with the solvent, wait exactly 15 minutes. I know it’s tempting to keep working at it, but patience pays off here. Then, dab the area with warm, soapy water. Again, wait another 15 minutes before blotting with a warm, damp cloth to remove the soap.
Synthetic Carpets
Synthetic carpets are generally more forgiving and give you a few more options:
You can start with the same dry-cleaning solvent method as above, or try acetone-free nail polish remover. If you go the nail polish remover route, apply it to a clean cloth first, then dab at the stain. Don’t pour it directly on the carpet—that’s a recipe for a bigger mess.
The timing is the same: dab, wait 15 minutes, apply warm soapy water, wait another 15 minutes, then blot clean with a damp cloth.
Ceramic Tile Marker Removal
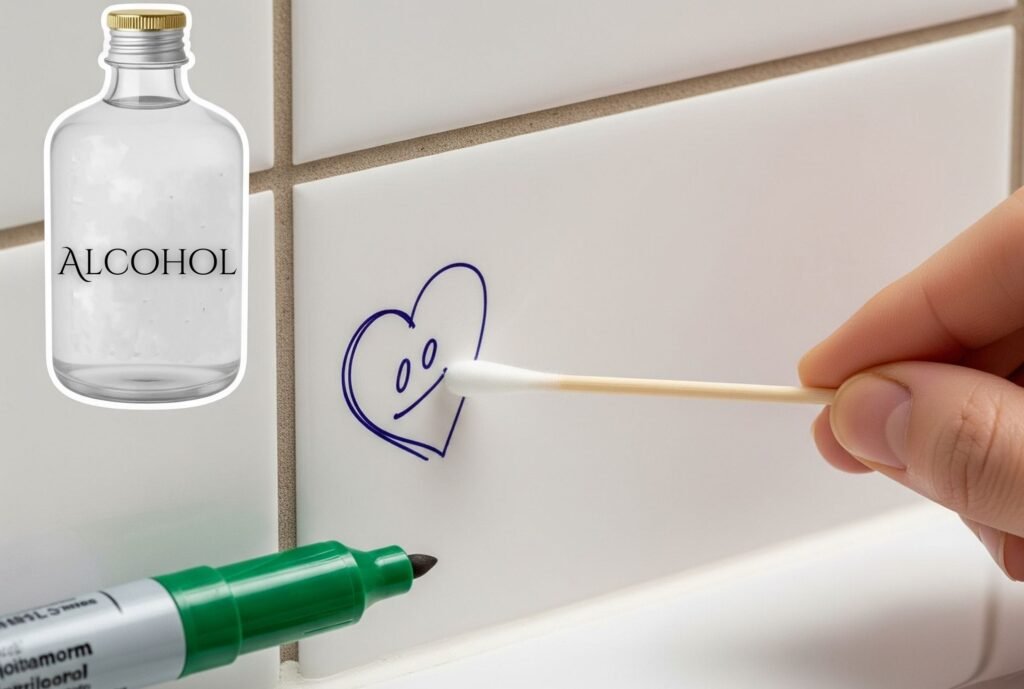
Ceramic tile is honestly one of the easiest surfaces to clean when it comes to permanent marker removal. The smooth, non-porous surface doesn’t give the ink many places to hide.
The Basic Approach That Usually Works
Start simple: warm, soapy water and a cloth. You’d be surprised how often this alone does the trick, especially if you catch the stain early. If there’s still some marker residue, grab a cotton swab and some rubbing alcohol. Dab the alcohol directly on the remaining stain—the precision of a cotton swab is perfect for this.
When You Need the Big Guns
The Dry-Erase Marker Trick: This one blew my mind the first time I tried it. Take a dry-erase marker and literally trace over the permanent marker stain. Wait about 30 seconds, then wipe both markers away with a clean cloth. It works because the solvents in the dry-erase marker re-activate the permanent marker, making both easier to remove.
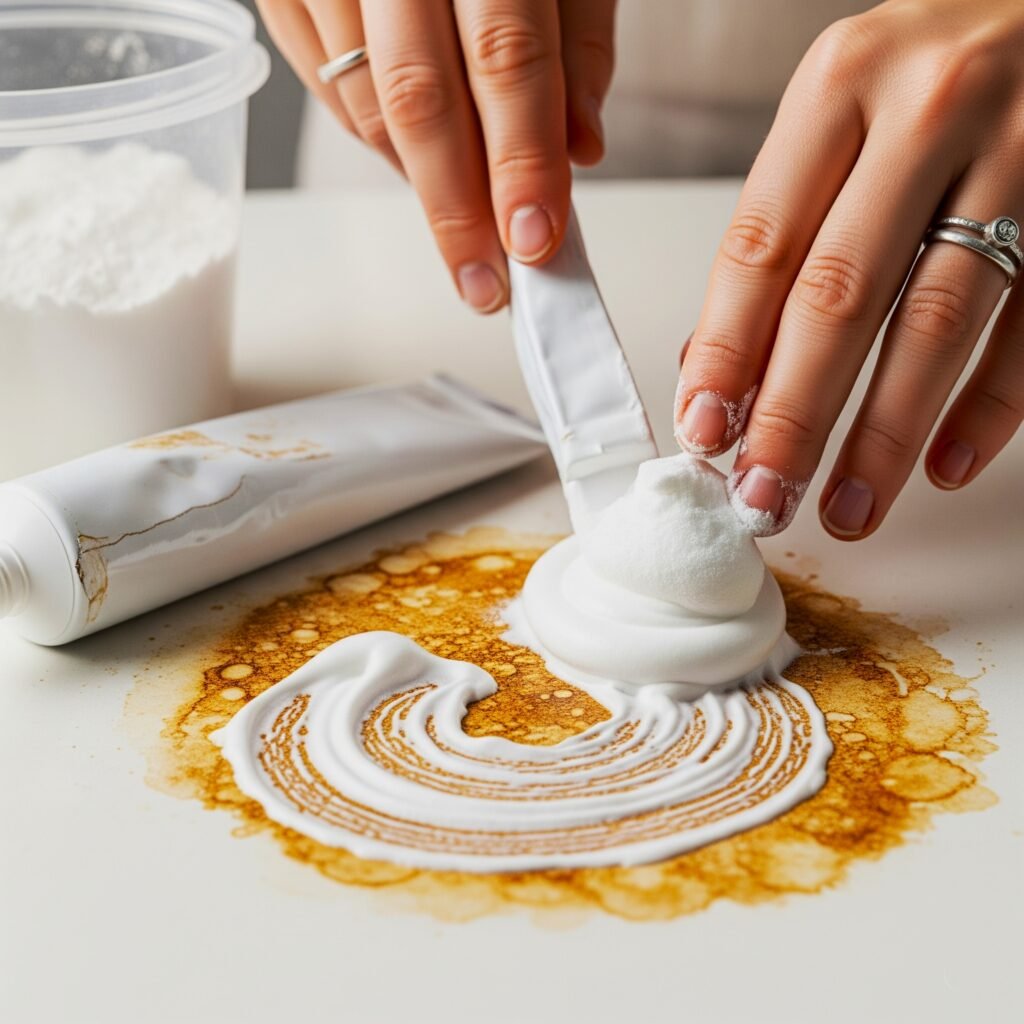
Toothpaste and Baking Soda Combo: Use white, non-gel toothpaste (the gritty kind works best). Apply it over the stain, sprinkle some baking soda on top, and let the whole thing dry completely. This can take 20-30 minutes. Once it’s dry, wipe it away with water. The mild abrasive action helps lift stubborn stains.
Chenille Upholstery and Fabric Treatment
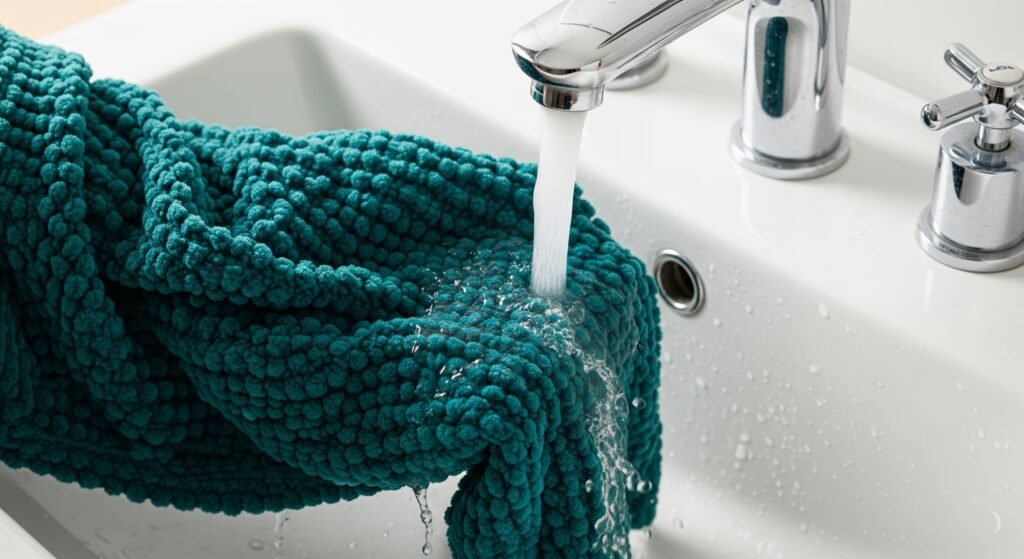
Chenille is one of those fabrics that feels amazing but makes you nervous when it comes to cleaning. It’s got that distinctive fuzzy texture that can be easily damaged if you’re too aggressive with cleaning.
Chenille Upholstery: Handle with Care
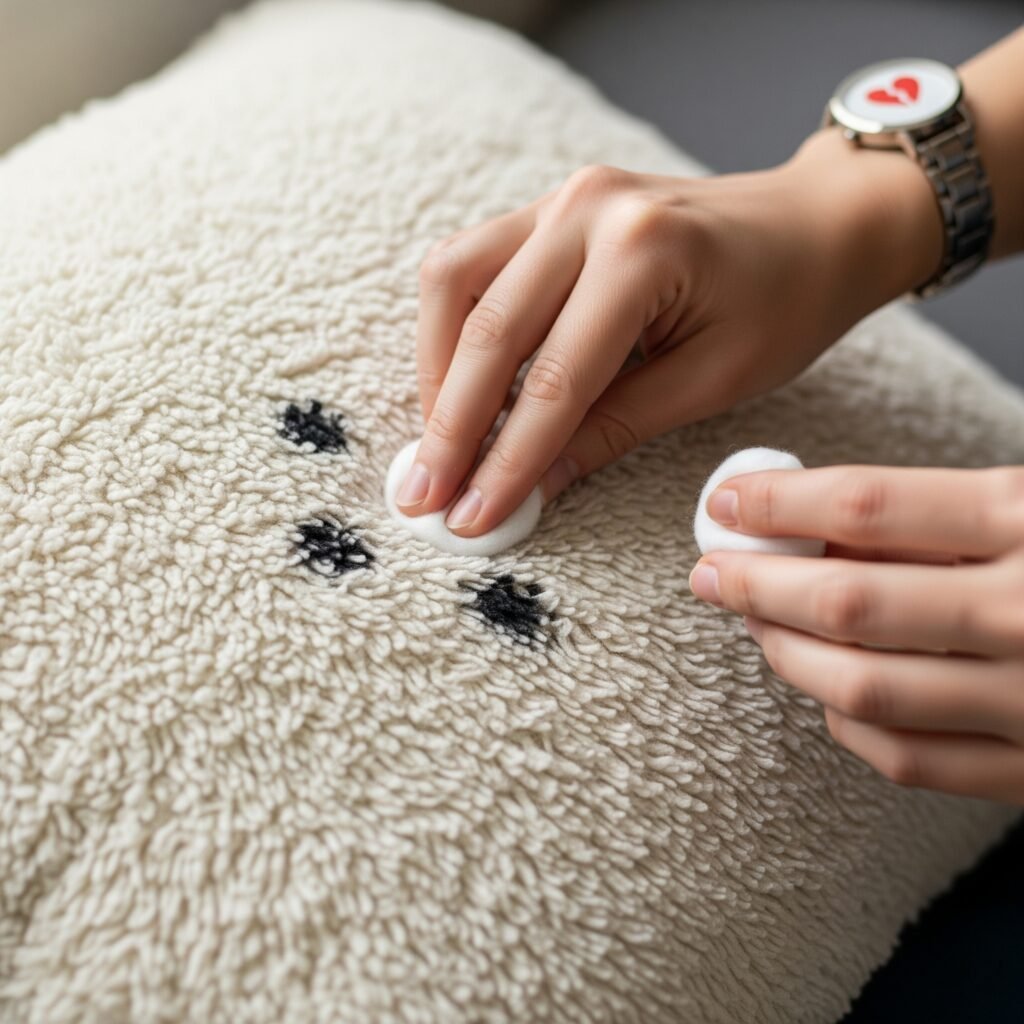
When my cat knocked a permanent marker onto my chenille accent chair, I was convinced it was ruined. But here’s what saved it:
First, test a tiny hidden area with rubbing alcohol. Chenille can have unpredictable dyes, and some might bleed or change color. Once you know it’s safe, use cotton balls with rubbing alcohol to gently blot the stain.
The key with chenille is being patient and gentle. Don’t press hard—let the alcohol do the work. Keep blotting until the stain lifts, changing to fresh cotton balls as they get inky. Then, use a clean cloth dampened with cold water to remove the alcohol residue, and blot dry with another clean cloth.
Washable Chenille Items
For throws, pillowcases, or clothing made from washable chenille:
Start by rinsing the stained area under cold water until the water runs clear. This might take several minutes, but it’s worth doing thoroughly. Then, carefully dab the area with rubbing alcohol, rinse again to remove the alcohol, and wash according to the care label.
Concrete Surface Cleaning Methods
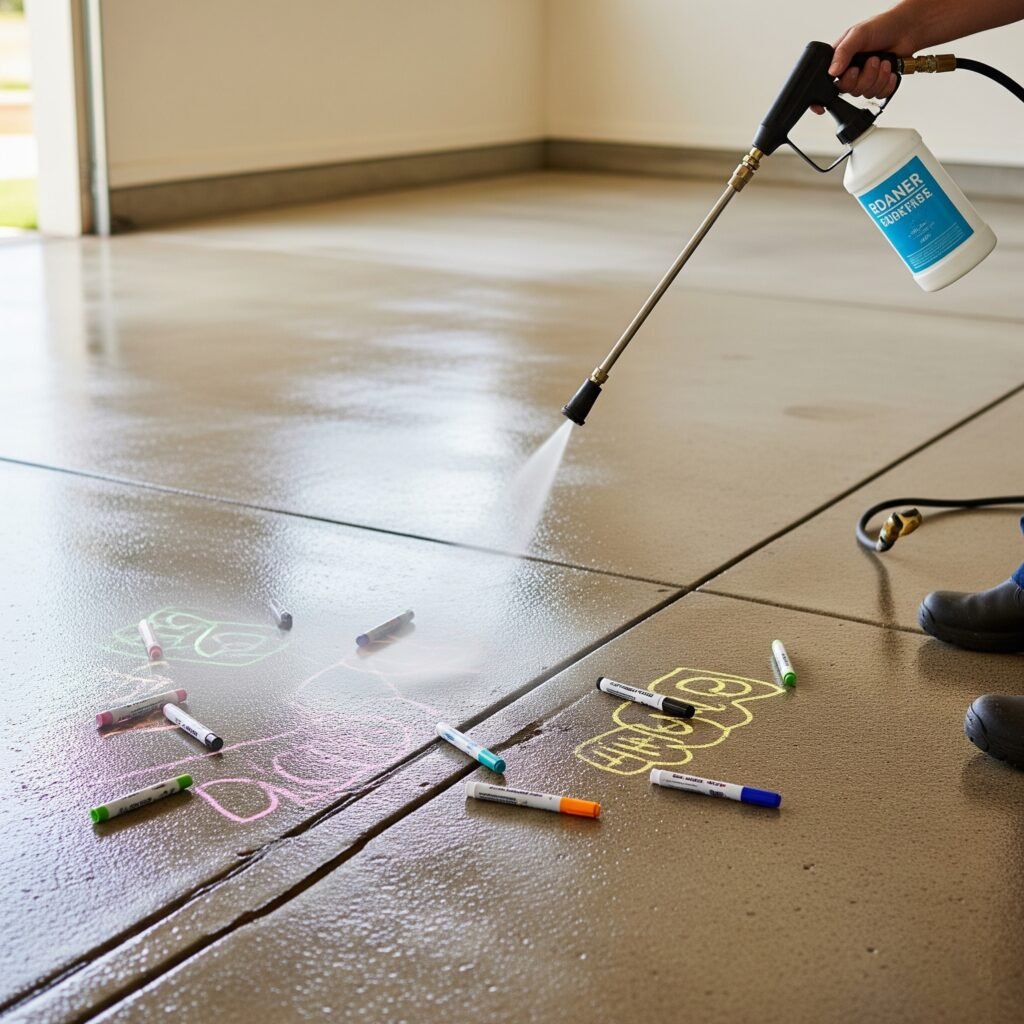
Concrete might look indestructible, but it’s actually quite porous, which means permanent marker can really sink in if you don’t act quickly. The good news is that concrete can handle more aggressive cleaning methods than delicate fabric.
Corduroy and Cork Surface Solutions
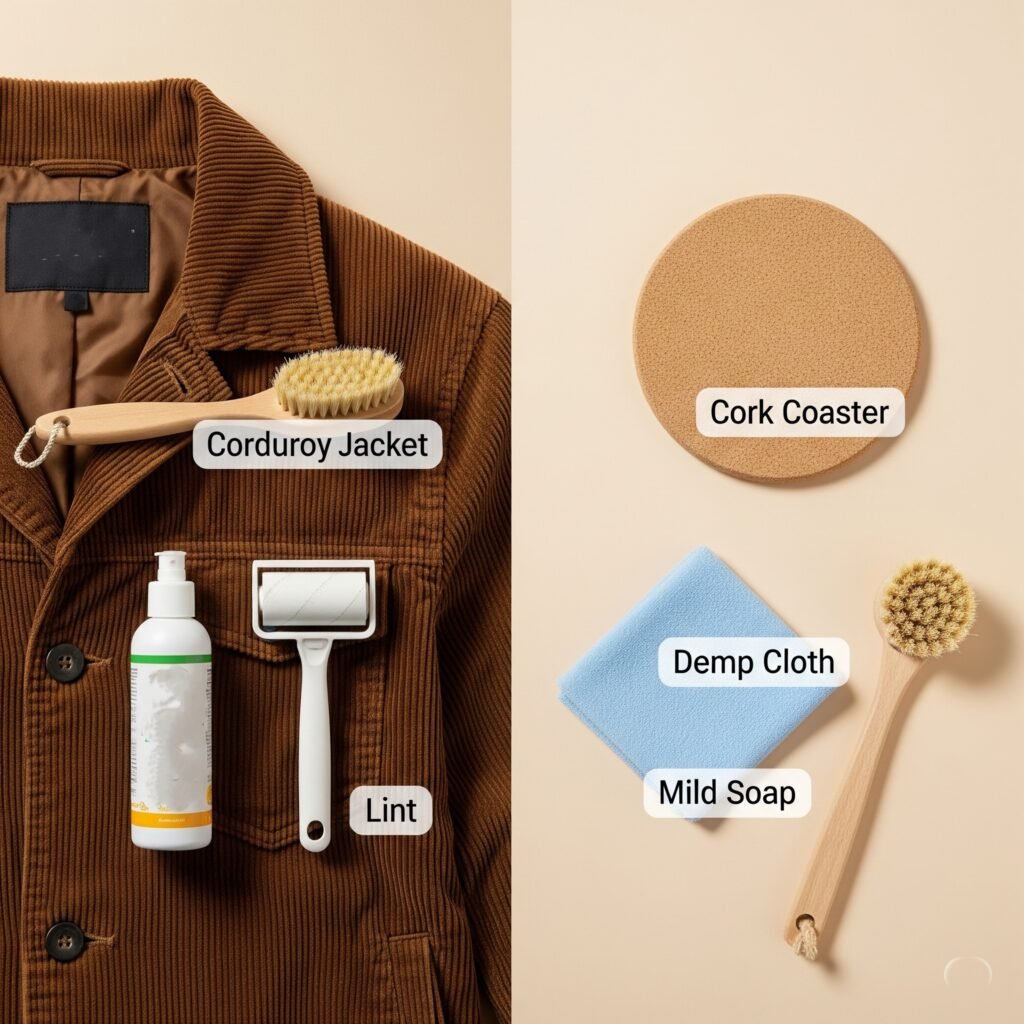
These two materials couldn’t be more different, but they both need special attention when it comes to permanent marker removal.
Corduroy: Respecting the Ridges
Corduroy’s distinctive ridged texture is what makes it great to touch but tricky to clean. Those ridges can trap stain and cleaning products alike.
For corduroy upholstery, start by testing rubbing alcohol in a hidden spot—some corduroy dyes are more sensitive than others. Once you know it’s safe, use cotton balls with alcohol to blot the stain. Work along the direction of the ridges, not against them. This helps prevent the fabric from getting fuzzy or damaged.
For washable corduroy items, rinse under cold water first (again, working with the ridges), then blot with alcohol, rinse thoroughly, and wash according to the care label.
Cork: The Gentle Giant
Cork seems tough, but it’s actually quite sensitive to moisture and chemicals. Here are three approaches, starting with the gentlest:
Method 1: Microfiber Magic Sometimes all cork needs is a good buffing with a clean microfiber cloth. Use gentle circular motions and see if the stain lifts. This works surprisingly often, especially on newer stains.
Method 2: The Dry-Erase Trick If buffing doesn’t work, try the dry-erase marker method. Trace over the permanent marker stain with a dry-erase marker, wait about 30 seconds, then wipe clean with a dry cloth.
Method 3: Precision Alcohol Application For stubborn stains, use a cotton swab with a tiny amount of rubbing alcohol. Apply it only to the stained area—cork can discolor iftiny amount of rubbing alcohol. Apply it only to the stained area—cork can discolor if alcohol spreads to clean areas. Immediately wipe with a barely damp cloth, then dry completely.

Cotton Fabric and Upholstery Care
Cotton is generally pretty forgiving when it comes to cleaning, which is why it’s such a popular choice for everything from t-shirts to furniture. But there are still some specific techniques that work better than others.
Cotton Upholstery: Steady and Systematic
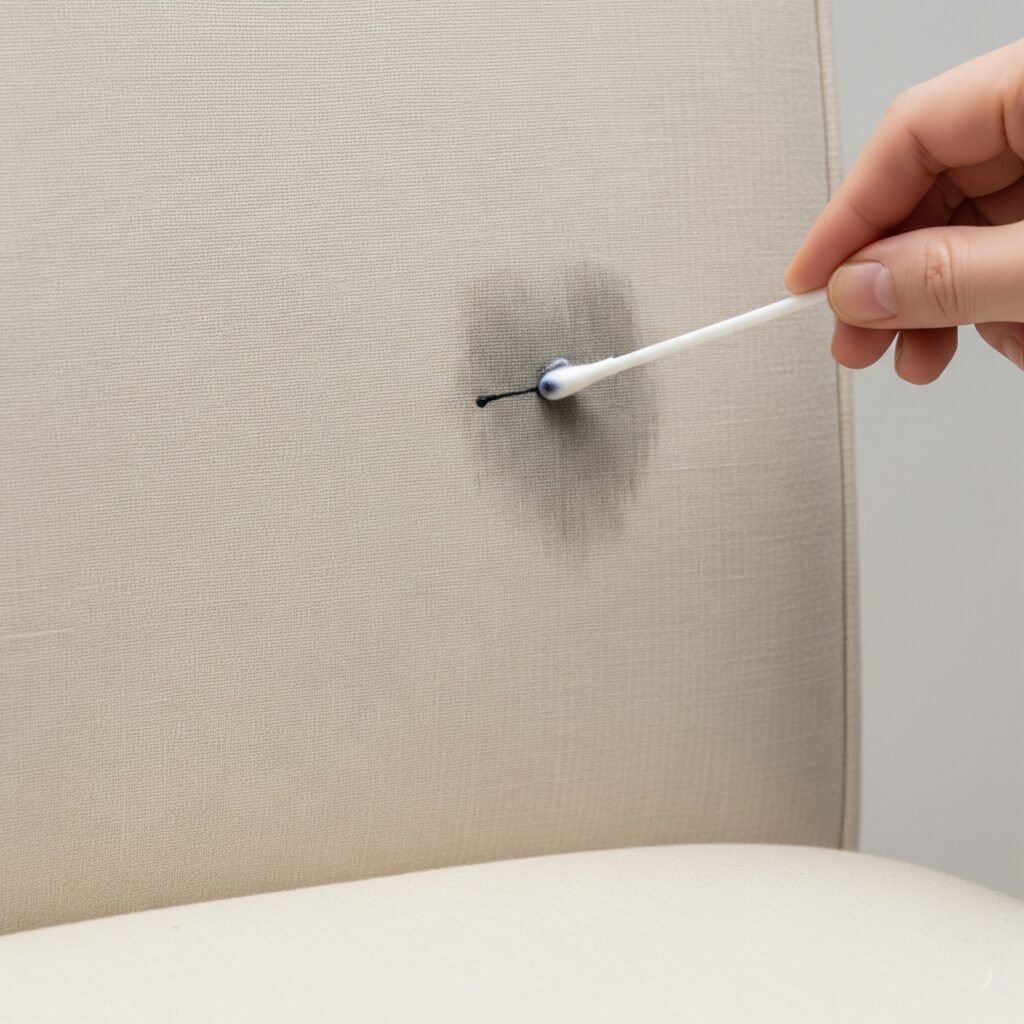
When dealing with cotton upholstery, you want to be methodical. Start with a colorfastness test in a hidden area—even though cotton is generally stable, some dyes or fabric treatments can be unpredictable.
Once you know the fabric can handle alcohol, use cotton balls to apply rubbing alcohol systematically across the stain. Work from the outside edges toward the center, and don’t be afraid to use several cotton balls—you want them damp but not dripping.
After the stain lifts, sponge the area with cold water to remove alcohol residue, then blot dry with a clean cloth.
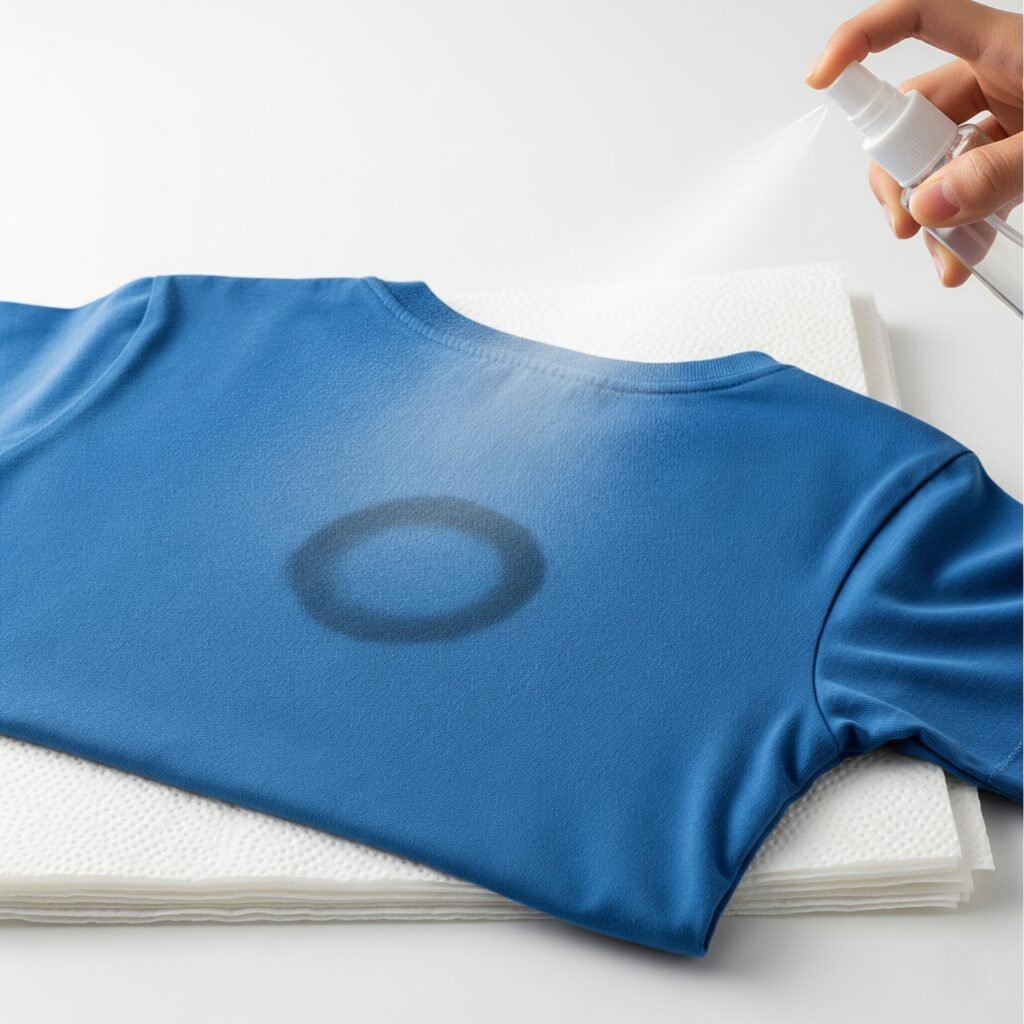
Cotton Clothing: The Back-Attack Method
This technique sounds weird but works incredibly well. Place the stained item face-down on a stack of paper towels, with the stain directly against the towels. Then, apply rubbing alcohol to the back of the stain.
The idea is that you’re pushing the ink out of the fabric and into the paper towels below, rather than deeper into the fibers. Keep applying alcohol and changing the paper towels as they absorb the ink. Once you’ve gotten as much out as possible, rinse with cold water and wash normally.
Additional Surface-Specific Techniques
Let’s talk about all those other surfaces that somehow end up with permanent marker on them. You know—the random stuff that makes you wonder “how did marker even get there?”
Wood Furniture: Treating It Right
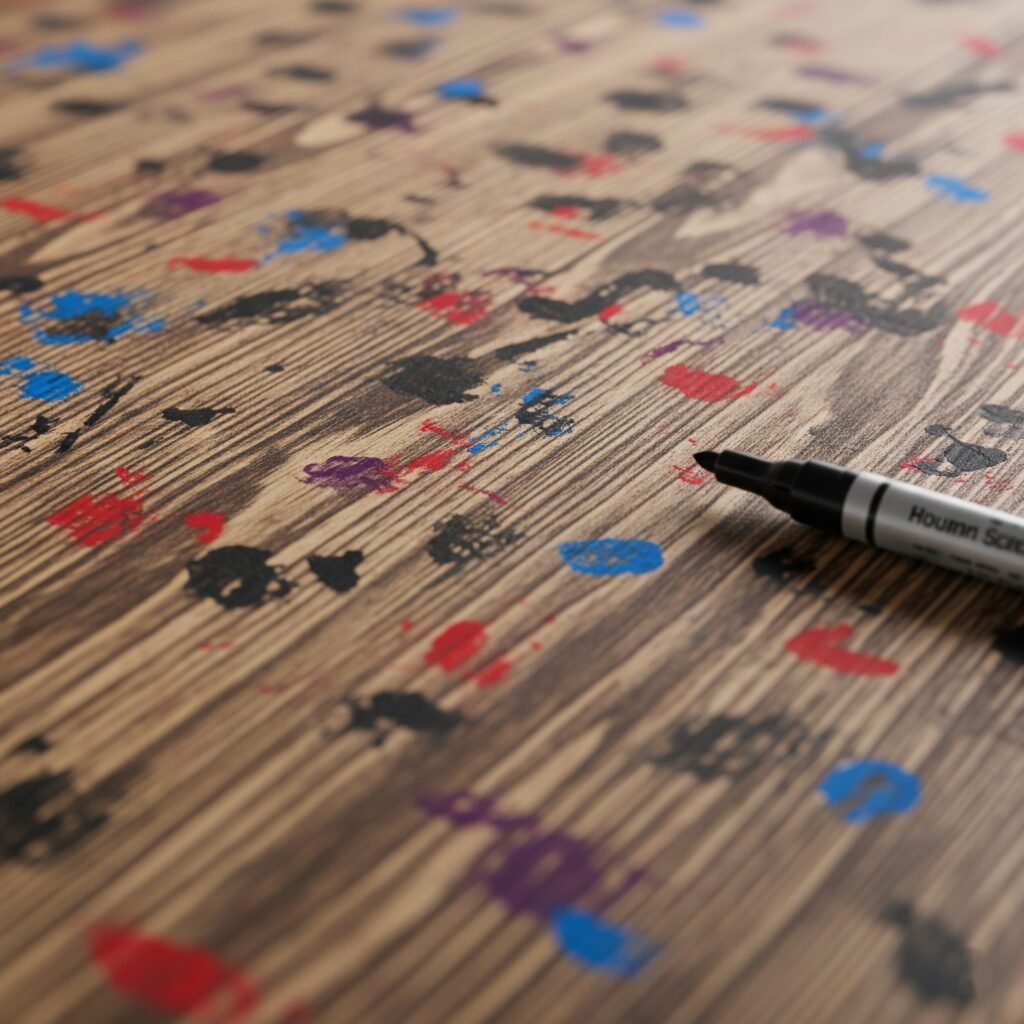
Wood furniture, especially nice pieces, can make you nervous when it comes to cleaning. The key is being gentle and working quickly so you don’t damage the finish.
Use a cotton ball with a small amount of rubbing alcohol. Work with the wood grain—this not only looks more natural but actually helps protect the finish. Apply minimal pressure and wipe the alcohol off immediately. Don’t let it sit on the finish.
If the stain is stubborn, you might need to repeat this process a few times rather than using more aggressive pressure or stronger chemicals.
Laminate and Vinyl Flooring
These surfaces are generally pretty tough, but you still want to be careful not to damage the protective coating.
Put a small amount of rubbing alcohol on a clean cloth and apply it directly to the stain. Work quickly, then immediately wipe with a barely damp cloth to remove any residue. Dry the area completely to prevent water damage.
Metal Surfaces: From Stainless Steel to Painted Metal
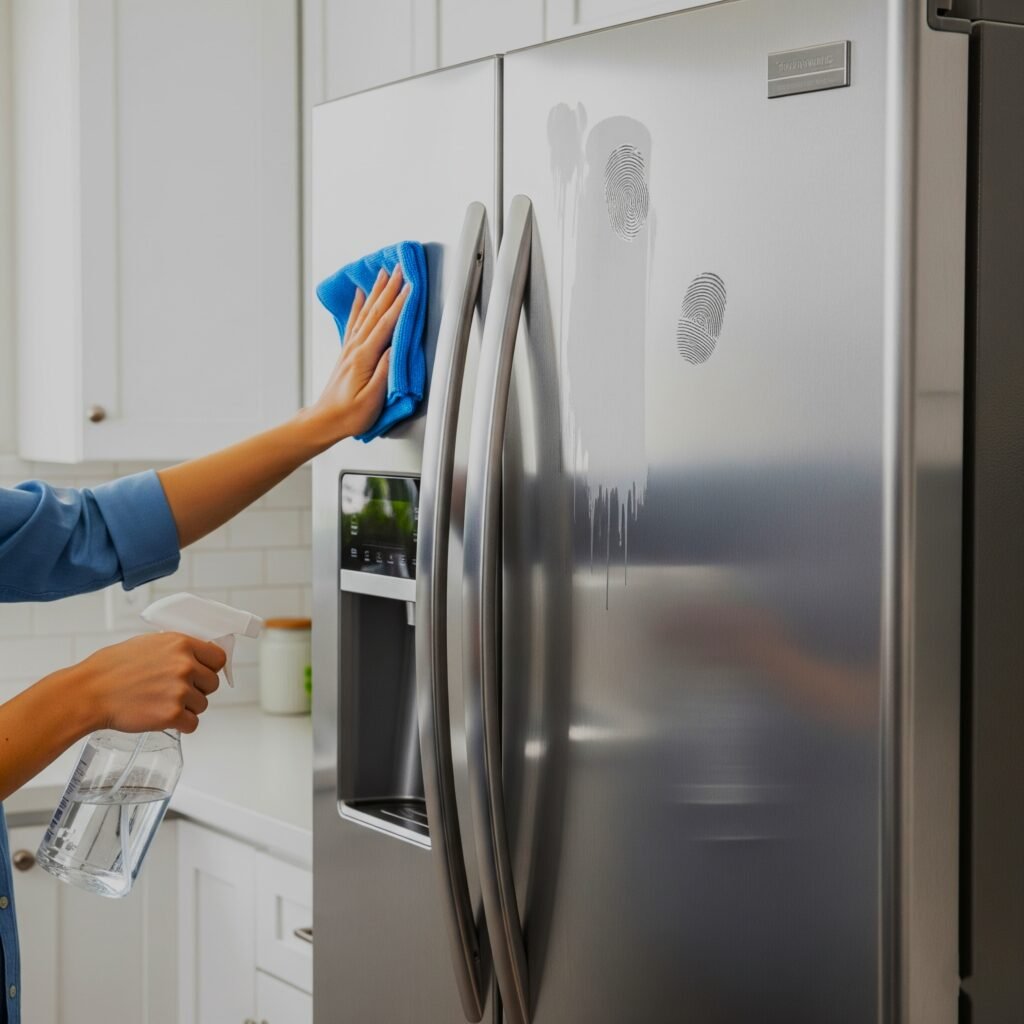
For stainless steel appliances, use rubbing alcohol on a microfiber cloth and work with the grain of the steel. This prevents scratching and gives you the best cleaning action. Dry immediately to prevent water spots.
For painted metal, treat it more like painted walls—be gentle and test first if you’re not sure about the paint quality.
Glass: The Easy Win
Glass is honestly the most forgiving surface when it comes to permanent marker. Rubbing alcohol dissolves the ink almost instantly. Apply it liberally to a paper towel, rub the stain area, then clean with glass cleaner and dry with a lint-free cloth for a streak-free finish.
Painted Walls: Your Most Common Challenge
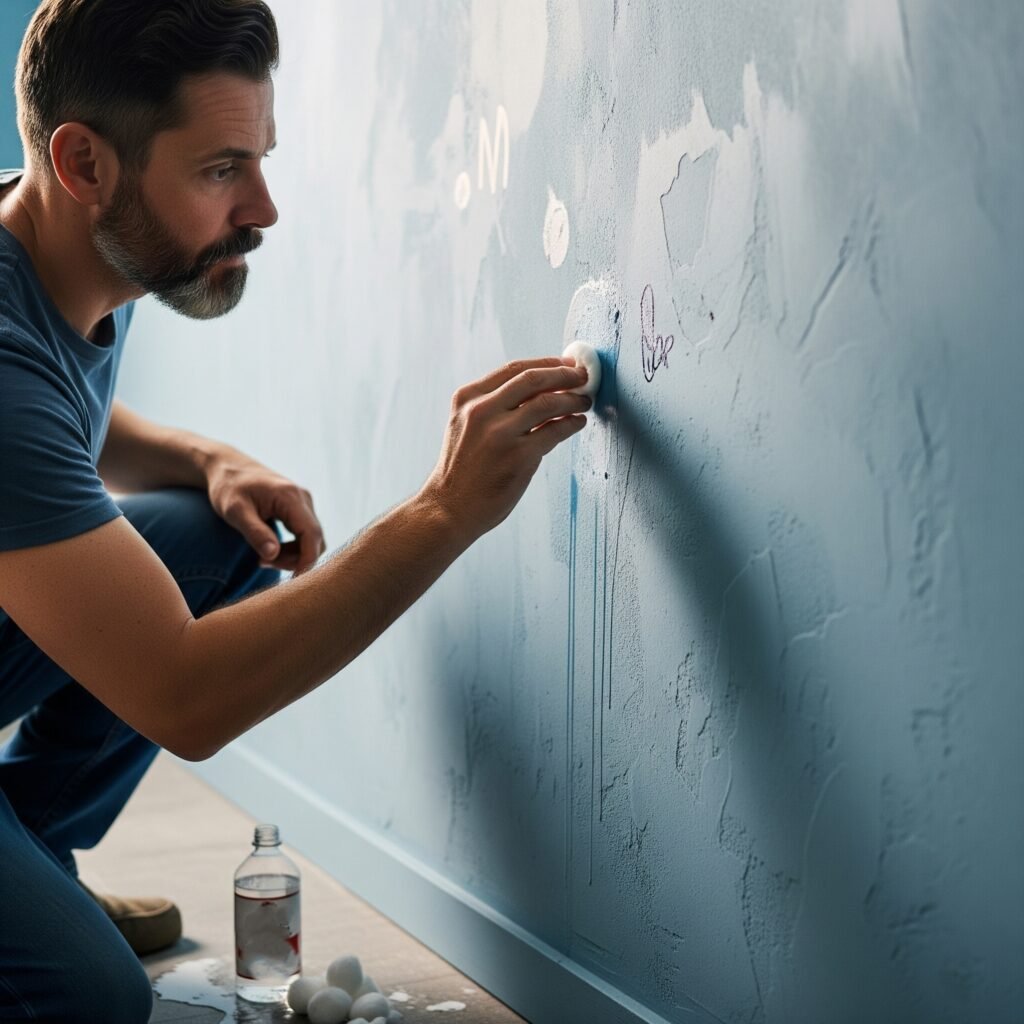
Painted walls are probably where you’ll encounter permanent marker most often, especially if you have kids. The approach depends on your paint type and quality.
Start with a cotton ball and a small amount of rubbing alcohol. Test in an inconspicuous area first—some paints, especially flat or budget paints, can be damaged by alcohol. Work gently and don’t scrub. If the alcohol works, clean the area with mild soap and water afterward to remove any residue.
If alcohol doesn’t work or damages the paint, you might need to consider touch-up paint as your best option.
Plastic: Where the Dry-Erase Trick Shines
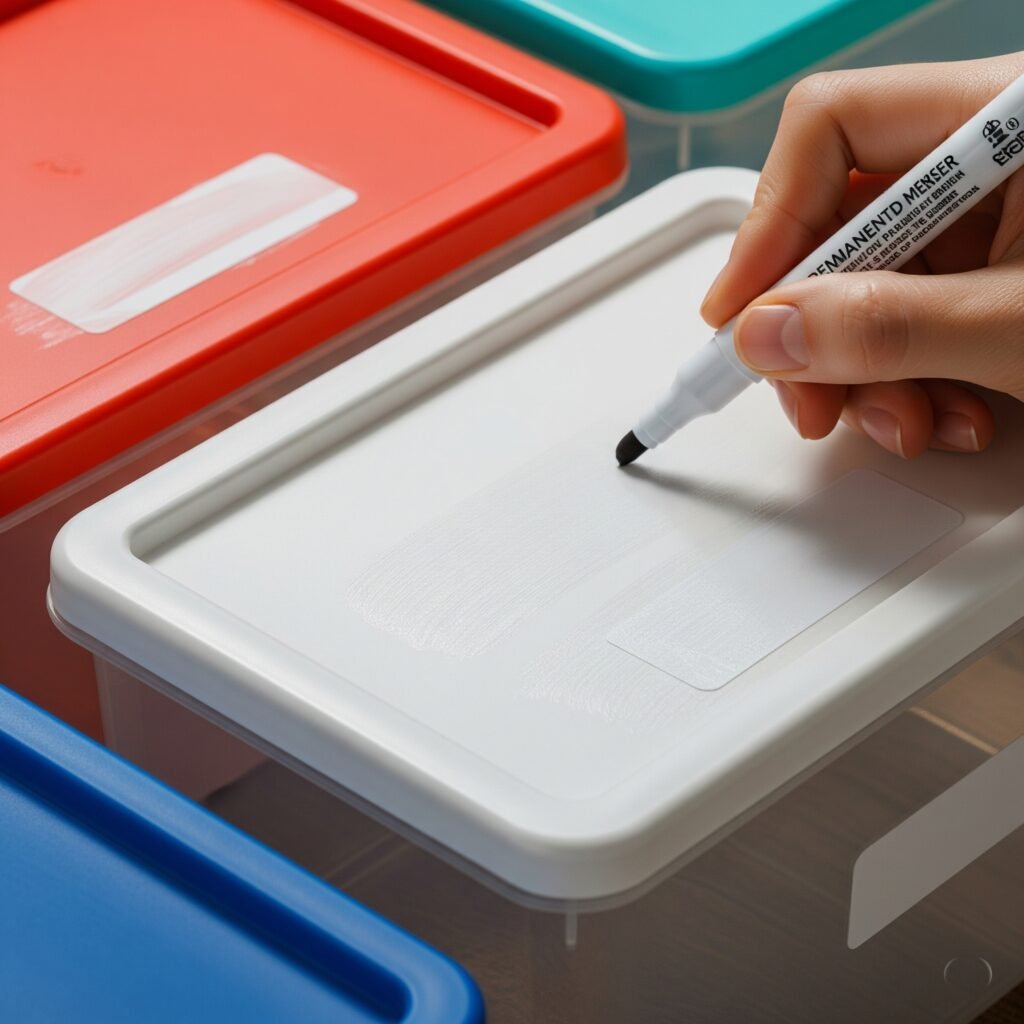
Plastic surfaces often respond best to the dry-erase marker trick. Color over the permanent marker with a dry-erase marker, wait briefly, then wipe both away with a dry cloth. If that doesn’t work completely, follow up with rubbing alcohol.
Just avoid acetone-based products on plastic—they can cause clouding or even dissolve certain types of plastic.
Real-Life Prevention and Safety Tips
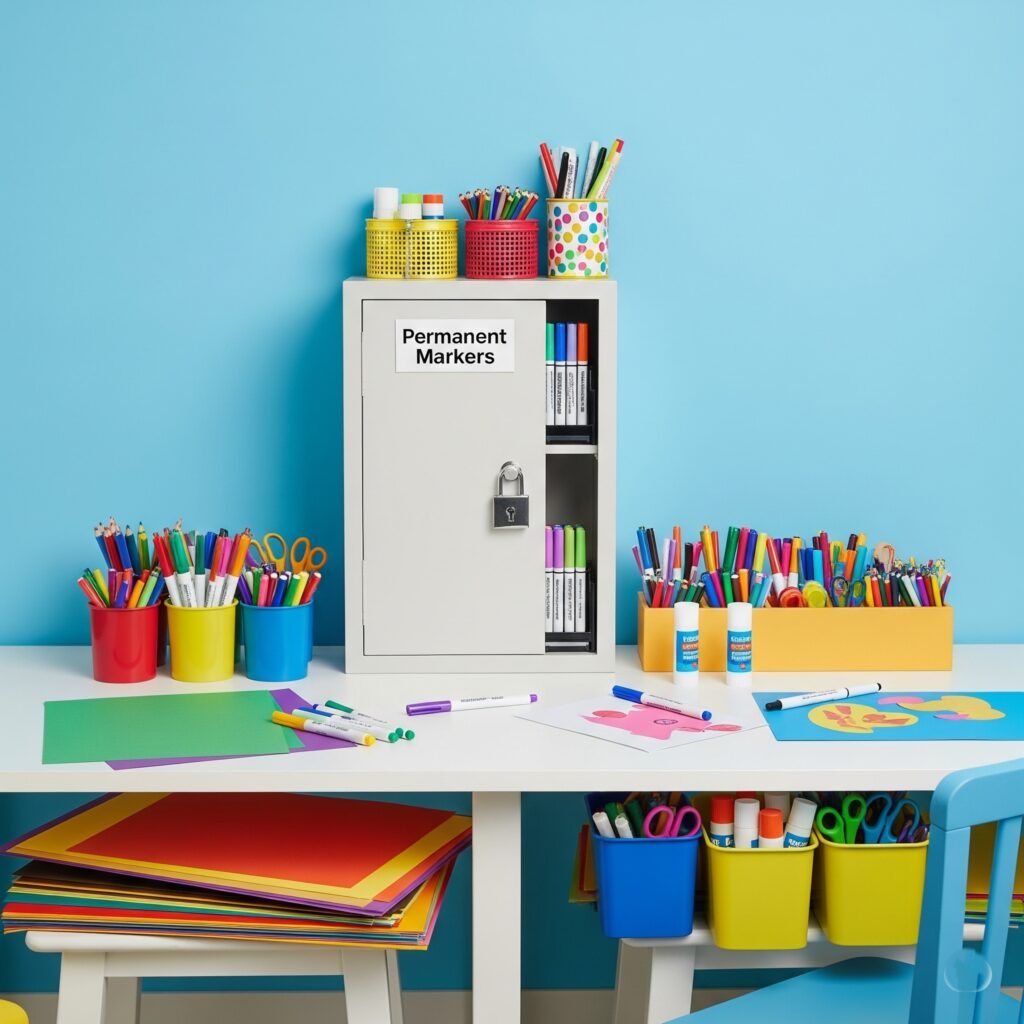
After dealing with countless marker mishaps over the years, I’ve learned that prevention really is worth a pound of cure. Plus, when accidents do happen, being prepared makes all the difference.
Setting Up Your Home for Success
The best permanent marker removal strategy is not needing it in the first place. Here’s what I’ve learned:
Keep permanent markers in a designated spot that’s not easily accessible to kids. I use a high shelf in my office closet. For children’s art projects, stick with washable markers—they’re just as fun but way less stressful.
When you do need to use permanent markers, work in a designated area with protective covering. I keep an old tablecloth specifically for crafting projects. It’s saved my dining room table more times than I can count.
Building Your Emergency Response Kit
Keep a “marker emergency kit” ready to go. Mine lives under the kitchen sink and includes:
- Rubbing alcohol (70% isopropyl)
- Cotton balls and swabs
- Clean microfiber cloths
- Baking soda
- A few dry-erase markers (for the removal trick)
Having everything in one place means you can respond quickly when accidents happen, and quick response makes a huge difference in success rates.
Safety Stuff That Actually Matters
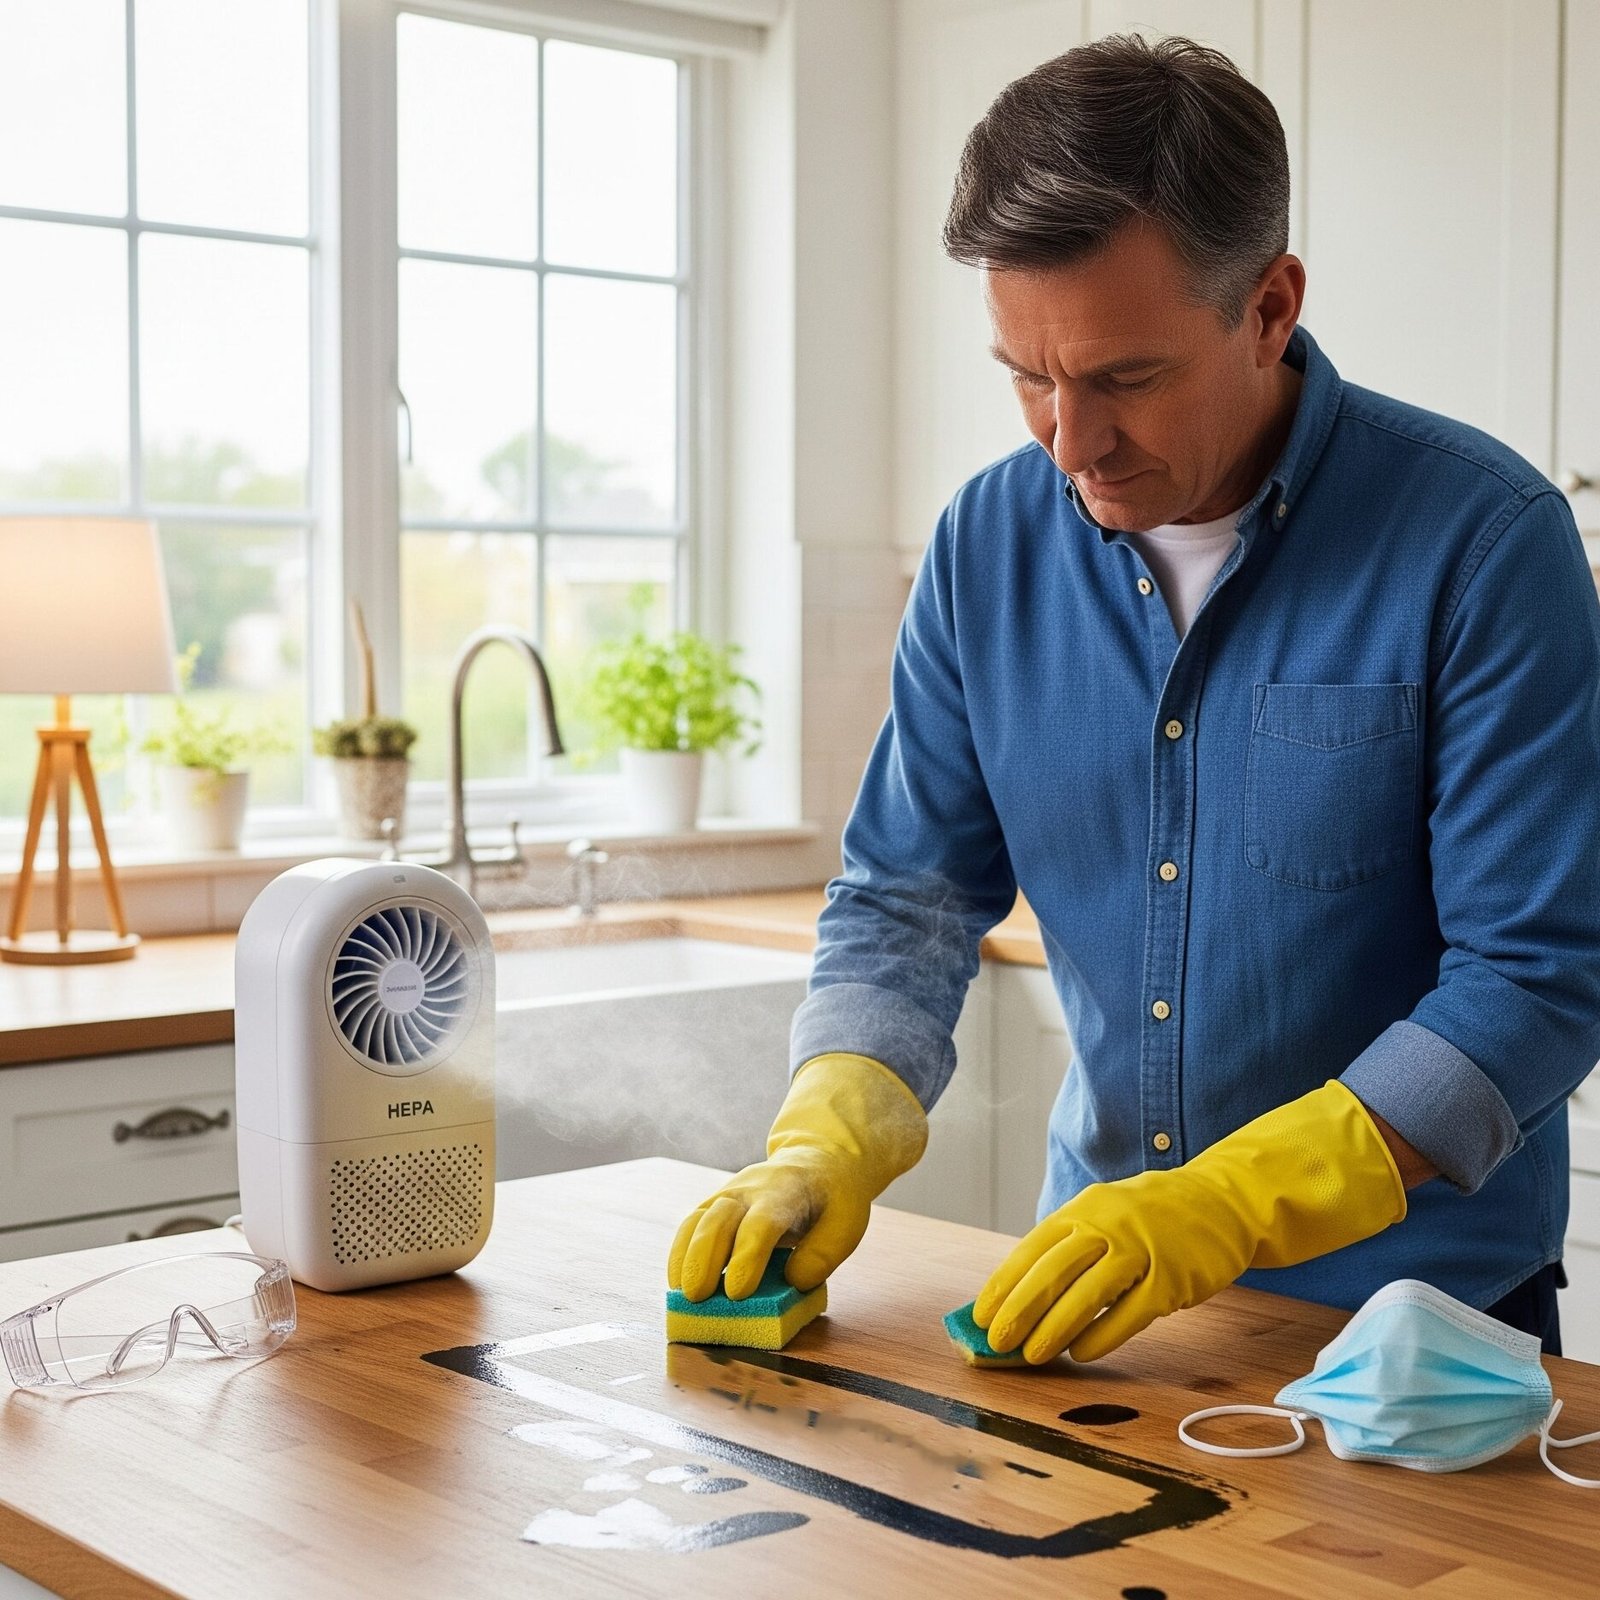
When you’re using rubbing alcohol or other solvents, make sure you have good ventilation. I learned this the hard way when I got a headache from cleaning marker off a large wall in a small bathroom with the door closed.
Wear gloves if you have sensitive skin or if you’re doing a lot of cleaning. And please, never mix different cleaning products—stick to one method at a time.
When DIY Goes Wrong
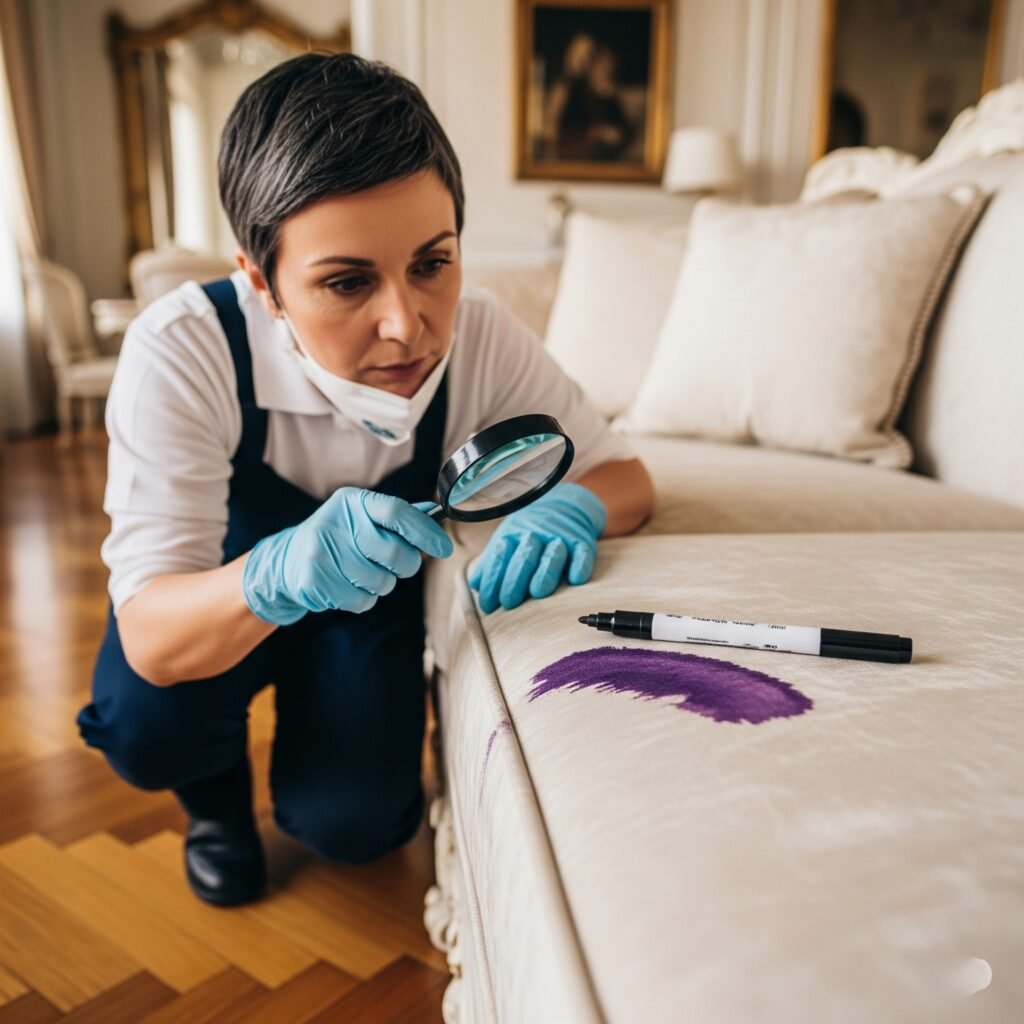
If you’ve tried multiple methods and the stain is still there, or if you’ve accidentally damaged the surface during cleaning attempts, it’s time to call in experts. Sometimes admitting defeat early actually saves money in the long run.
Types of Professionals Who Can Help Dry cleaners aren’t just for clothes—many can handle upholstery, drapes, and other fabric items. For furniture, look for upholstery cleaning specialists or furniture restoration experts. For large areas like walls or floors, commercial cleaning services often have tools and products that aren’t available to consumers.
Wrapping It All Up
Learning how to remove permanent marker from different surfaces has been a journey of trial and error for me, with more errors than I’d like to admit. But that’s also how I figured out what really works versus what just sounds like it should work.
The biggest lessons I’ve learned? Act fast when possible, always test first, and don’t be afraid to try the simple solutions before moving to more aggressive methods. That rubbing alcohol sitting in your medicine cabinet really is a cleaning superhero, and the dry-erase marker trick still amazes me every time it works.

FAQs
How do I remove permanent marker from walls without messing up the paint?
This is probably the question I get most often! Start with rubbing alcohol on a cotton ball, working from the outside of the stain toward the center. The key is being gentle—blot, don’t scrub. If you’re nervous about the paint, test it first in a corner or behind a piece of furniture.
What’s the absolute best method for getting permanent marker out of clothes?
For most washable fabrics, especially cotton, I swear by the “face-down” method. Put the stained item face-down on paper towels and apply rubbing alcohol to the back of the stain. This pushes the ink into the paper towels instead of deeper into the fabric. Keep changing the paper towels as they absorb the ink, then rinse with cold water and wash normally. Just make sure the stain is completely gone before you put it in the dryer—heat will set any remaining ink.
Can I really get permanent marker out of carpet?
Yes, but it depends on your carpet type. For natural fiber carpets (like wool), use dry-cleaning solvent, blot it out, wait 15 minutes, then dab with warm soapy water, wait another 15 minutes, and blot clean. For synthetic carpets, you can try acetone-free nail polish remover instead of dry-cleaning solvent. The key is patience and never, ever rubbing or scrubbing—that just damages the carpet fibers and spreads the stain.
Does that dry-erase marker trick actually work on ceramic tile?
It really does! I was skeptical the first time someone told me about it, but now it’s one of my go-to methods. Just trace over the permanent marker with a dry-erase marker, wait about 30 seconds, then wipe both markers away with a clean, dry cloth. It works because the solvents in the dry-erase marker re-activate the permanent marker. If there’s still some

